
A Toyota Yaris fender replacement should leave the bonnet, front door, headlight and bumper sitting neatly together, with no rubbing or strained fixings. Achieving that starts before painting: confirm the exact panel, inspect the mounting points and approve a complete trial fit.
This guide covers the front outer fender, also called a front wing. Rear quarter-panel repairs require a different approach. For Yaris owners in Qatar, the aim is to avoid paying for a painted panel that still needs reshaping, exchanging or removing to repair hidden damage.
Identify the Exact Yaris Before Ordering
“Toyota Yaris, white, right side” is not enough information to order confidently. Different generations, body styles and market versions can have different panel shapes and mounting details.
Give the supplier:
- The vehicle identification number (VIN) or chassis number.
- The model code and production date, where available.
- Whether the vehicle is a sedan or hatchback.
- The required side: left or right, viewed from inside the car facing forward.
- Clear photographs of the damaged corner and surrounding panels.
For a car in Qatar, confirm its original market specification, especially if it was privately imported. A registration year alone may not identify the correct production version.
Ask the supplier to match the replacement part number to the vehicle details. Compare indicator openings, trim holes, wheel-arch shape and attachment points where applicable. A similar-looking photograph is not proof of compatibility.
Check the Structure Behind the Damaged Fender
A replacement panel cannot sit correctly on displaced mounting points. Before blaming the new fender, the body shop should inspect the upper mounting flange, lower attachment area, inner apron and nearby supports.
The impact may also have damaged a headlight tab or bumper retainer. If those parts are out of position, the fender can appear incorrectly shaped even when its dimensions are right.
Ask for photographs after the damaged panel and relevant trim are removed. Creases, torn holes, cracked seam sealer or displaced brackets deserve investigation before fitting continues.
Where structural movement is suspected, the workshop should measure against the repair information for that exact vehicle. The undamaged side offers a useful comparison, but it does not replace specified dimensions. Avoid accepting a repair that simply pulls the new panel against a bent support.
Inspect the Replacement Before It Reaches the Paint Booth
Check the delivered panel while it is still unpainted. Look along its length for distortion, inspect the wheel-arch lip and examine every mounting tab. Packaging damage can bend an edge without leaving an obvious dent across the visible surface.
Clarify whether the quoted part is genuine, aftermarket or used. These descriptions should appear clearly on the quotation. A used panel also needs checking for previous repairs, filler and corrosion around concealed edges.
SWAT’s auto body parts range in Doha includes fenders and surrounding components such as bumpers and headlights. Ask for confirmation of the exact Yaris application, condition and availability before ordering.
Also establish the return conditions before painting, drilling or modifying anything. Resolving a mismatch is easier before additional work has been carried out.
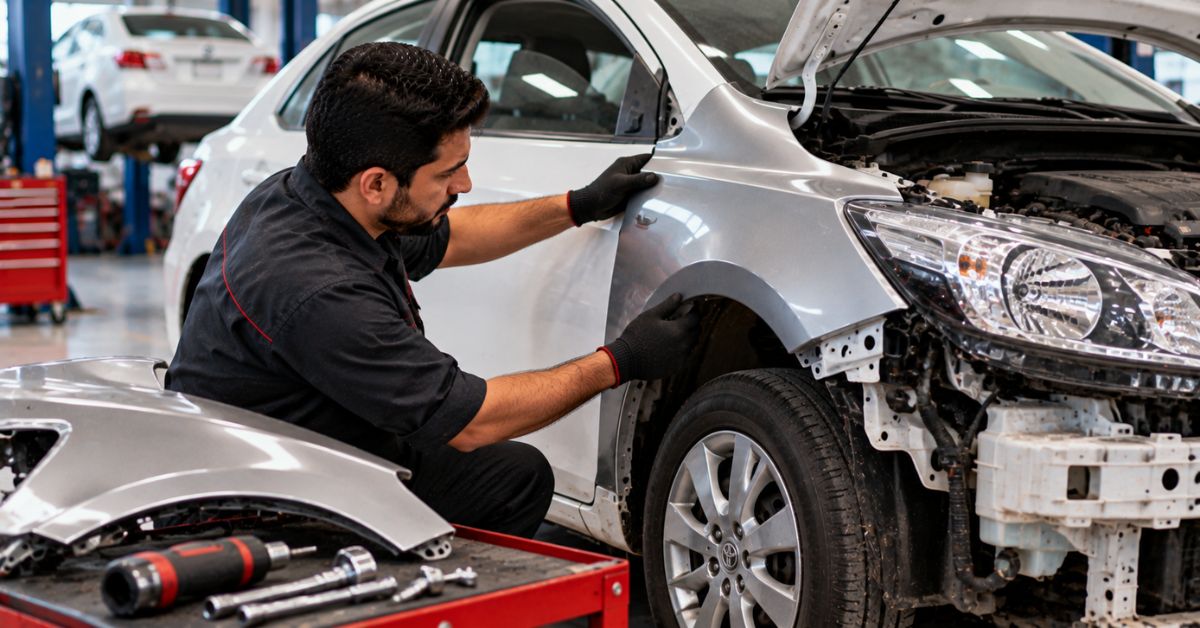
Insist on a Complete Trial Fit
Trial fitting means temporarily installing the replacement and checking how it meets the surrounding components before final refinishing.
The technician should follow the model-specific fitting procedure, leaving appropriate adjustment available while establishing the panel’s position. The bumper corner, headlight and wheel-arch liner should also be checked in their intended positions. A fender that looks right with these removed may reveal problems during reassembly.
The main checkpoints are:
| Area | What a satisfactory fit should show |
| Bonnet edge | The specified gap and height relationship along the seam |
| Front door | A consistent gap, aligned body lines and clearance during opening |
| Headlight | Correct surrounding contours without pressure on lamp tabs |
| Bumper corner | A properly seated joint with secure retainers |
| Wheel arch | Correct liner attachment and adequate tyre clearance |
Do not accept a universal gap measurement quoted for every Yaris. Specifications can vary by model and location. Both gap width and flushness matter: two panels may be evenly spaced yet sit at different heights.
Correct the Cause of Poor Fit
If one corner sits correctly while another remains far out, stop and identify why. Possibilities include the wrong panel variant, transport damage, distorted body mounting points or incorrectly positioned neighbouring components.
Bolts should secure a correctly positioned panel. They should not be used to drag a badly mismatched fender into shape. Likewise, unexplained extra holes, stacks of washers or heavy reshaping should prompt a discussion about the repair method.
Small adjustments may be appropriate within the specified procedure. The important distinction is whether the technician is making a normal alignment adjustment or disguising an unresolved mismatch.
Once positioning is approved, fasteners should be tightened to the applicable specifications and the fit checked again. Door and bonnet movement must remain clear after tightening.
Finish the Hidden Surfaces Properly
Good alignment is only part of a lasting repair. Ask how the workshop will prepare the replacement coating, protect exposed metal and restore any disturbed corrosion protection.
The inner edges and mounting areas need attention as well as the visible face. Required primers, sealers and protective coatings should follow the vehicle repair instructions and the chosen refinishing system. Drainage paths must remain open.
For a car used in Qatar, secure liners and splash shields also help protect the repaired area from road debris. Replace broken clips and damaged retainers instead of leaving loose sections inside the wheel arch.
Discuss colour matching separately from fit. Matching the paint code is a starting point; the painter should assess the existing finish and explain whether blending into an adjacent panel is necessary.
Approve a Complete Quote and Handover
Request an itemised quotation in Qatari riyals covering the panel, damaged brackets or clips, fitting, preparation, painting and any agreed blending. Hidden damage discovered after removal should be explained before extra work proceeds.
If the impact involved the wheel, steering or suspension, arrange a separate assessment. SWAT lists diagnostic and suspension work among its
At collection, inspect the repair in daylight. Open the door and bonnet, check the bumper joint and look for loose liners or fresh contact marks. Where lighting or fitted driver-assistance equipment was disturbed, ask which checks or calibrations the vehicle’s procedure requires.
Conclusion
A well-fitted Yaris fender depends on three decisions: ordering the correct panel, repairing the supports beneath it and approving the fit before paint. Careful finishing and a documented handover then help protect that work over time.
Keep the part number, invoice and repair photographs for future maintenance. To start an enquiry, contact SWAT Auto Parts with your VIN, required side and damage photographs, then confirm the full repair scope before proceeding.
Frequently Asked Questions
1. Will a fender from another Yaris year fit?
Possibly, but confirm the part number against the VIN and body version. Similar appearance does not establish interchangeability.
2. Does replacing a fender require wheel alignment?
Replacing the outer panel alone does not normally alter wheel alignment. Collision damage involving the wheel or suspension requires separate checks.
3. Can the fender be painted before trial fitting?
It can, but checking the fit first reduces the risk of damaging fresh paint during adjustments or discovering an incompatible panel.
4. Why is the bumper corner sticking out afterwards?
A broken retainer, damaged bumper tab or incorrect panel positioning may be responsible. Inspect the joint rather than forcing it inward.

