
Dim headlights do not automatically mean you need new headlight assemblies. Dust on the lenses, ageing bulbs, poor electrical connections or incorrect beam alignment can leave the road poorly lit. The right repair depends on where the light is being lost.
For drivers in Qatar, checking lens cleanliness is a sensible first step, especially after dusty journeys. Work through the checks below before spending money on replacements. If you cannot see the road safely, avoid driving after dark until the fault is corrected.
Start by identifying the pattern
Park on level ground facing a plain wall, apply the parking brake and select dipped headlights manually. Make sure you are not judging daytime running lights, which are not intended to illuminate the road at night.
Compare the illuminated areas on the wall rather than staring into the lamps. Note these clues:
- One side is noticeably dimmer: Start with that side’s lens, bulb, connector and earth connection.
- Both sides have faded gradually: Inspect lens condition and bulb age, then check beam aim and electrical supply.
- Brightness changes or flickers: Record whether it happens at idle, over bumps or when electrical accessories are switched on.
These observations narrow the search; they do not confirm a diagnosis. Also mention any recent bulb replacement, front-end repair or water exposure to the technician.
Clean the lenses before judging their condition
Let the headlights cool, rinse away loose grit and wash them with a suitable car shampoo and soft cloth. Avoid rubbing dusty lenses dry, as trapped particles can scratch the surface. Dry them and compare the light again.
If the lenses remain yellow or milky, surface deterioration may scatter light. Sunlight and environmental exposure can damage the protective coating on plastic lenses over time.
Professional restoration may help when deterioration is on the outside. It should include suitable UV protection after the damaged surface is treated. Polishing alone leaves the restored plastic less protected. Deep cracks or damage inside the assembly require a different assessment.
Distinguish temporary mist from water entering the housing
A light film of condensation that clears can occur during changes in temperature and humidity. It does not automatically justify replacing a headlight.
Persistent droplets, pooling water or recurring heavy fogging need investigation. Ask for the rear cover, seals, housing and ventilation openings to be checked. Moisture can also corrode terminals and bulb holders, turning a sealing problem into an electrical fault.
Do not drill drainage holes or cover ventilation openings with sealant. The repair must address how moisture enters or becomes trapped; otherwise, the problem can return after drying.
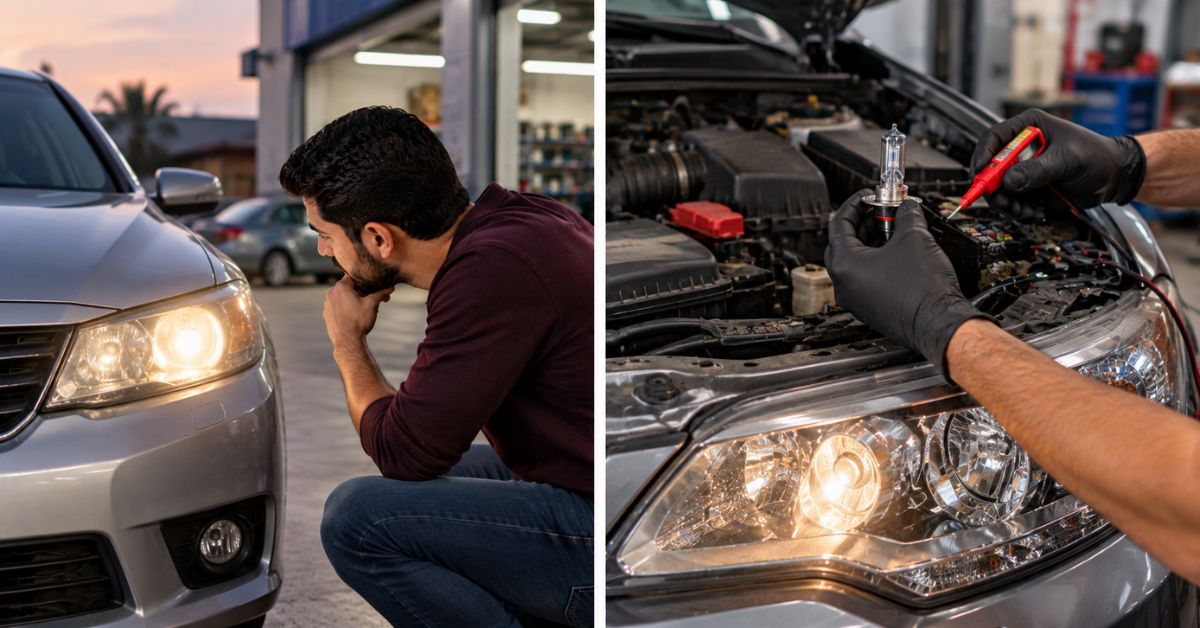
Check the bulb specification and installation
Halogen and xenon bulbs can lose output as they age, even while they still illuminate. Check the vehicle handbook or existing part identification for the correct replacement specification.
If the problem started immediately after a bulb change, check compatibility and seating first. A bulb fitted at an angle can create a poor beam despite appearing bright when viewed directly.
For an accessible halogen bulb, follow the handbook, switch everything off and let the lamp cool before inspection. Avoid touching the glass with bare fingers.
Factory LED headlights need a different approach. There may be no conventional replaceable bulb; the fault could involve an LED module, driver electronics, power supply or cooling system. Xenon systems use high ignition voltages, so leave their electrical testing and component changes to a qualified technician.
Have the electrical supply tested under load
A connector can look acceptable while corrosion or loose contact creates resistance. Discoloured terminals, melted plastic and damaged wiring are reasons for professional inspection, not simply another bulb purchase.
Ask for voltage-drop testing on both the power feed and earth side while the relevant circuit is operating. Testing an unplugged connector alone may miss a restriction that appears when current flows.
If both lights change brightness together, the checks should also cover the battery connections and charging system. On a conventional combustion-engine car, this includes alternator performance under load. Persistent dimming with other electrical symptoms deserves attention, but it does not prove that the battery needs replacement.
Modern charging and lighting controls vary, so readings should be judged against the vehicle’s service information rather than one universal voltage figure.
SWAT Auto Parts lists diagnostics and electrical repairs among its garage workshop services in Doha. Describe the symptoms and ask for the cause to be identified before authorising parts.
Check where the beam lands
Headlights can produce adequate light yet illuminate the wrong area. A beam aimed too low may make the road ahead seem dark, while incorrect upward aim can dazzle approaching drivers.
If your car has a manual headlight levelling control, check its setting against the handbook and current load. Also mention recent suspension work, impact damage or replacement of a headlight assembly.
A wall comparison can reveal an obvious difference, but accurate adjustment needs the specified vehicle preparation and suitable aiming equipment. Some automatic levelling systems also require diagnostic setup. Avoid raising the beams by guesswork to compensate for poor visibility.
Buy a replacement only when the fault supports it
Replacement becomes reasonable when an assembly has damaged internal optics, a cracked housing, irreparable mounting damage or an internal failure that cannot be serviced separately. A brighter bulb will not restore a deteriorated reflector or repair a bad connection.
SWAT Auto Parts includes headlights in its auto body parts range. Before ordering, provide the vehicle identification number, model year, headlight type, affected side and existing part number where available. Confirm fitment and availability for your exact vehicle.
Ask whether the quoted assembly includes bulbs or control modules and whether installation requires coding or calibration. Avoid choosing higher-wattage bulbs or a different lighting technology solely because they promise more brightness. Compatibility includes the optics and electrical system, not just the connector.
Frequently asked questions
Should I replace both headlight bulbs together?
For ageing halogen or xenon bulbs, a matched pair can help maintain balanced output and colour. That does not mean both complete assemblies need replacing.
Can a blown fuse make a headlight dim?
A blown fuse normally stops the affected circuit working. A poor fuse-holder connection can cause voltage loss, so the holder may still need checking.
Why are my headlights still dim after fitting new bulbs?
The cause may be cloudy lenses, incorrect bulb seating, poor aim, damaged internal optics or an electrical supply fault. New bulbs only address the light source.
Will whiter bulbs improve night-time visibility?
Not necessarily. Colour temperature describes the light’s appearance, not how effectively the headlight illuminates the road. Correct specification and beam pattern matter more than colour alone.

